
A wet floor beside the water heater is a call we hear about constantly, and the first question is always the same: where is it actually coming from? Water runs downhill and pools at the lowest point, so the puddle is often nowhere near the source. It might be the temperature and pressure relief valve or its discharge line, the drain valve near the bottom of the tank, the hot and cold connections on top, condensation on a cold tank, or a nearby pipe that has nothing to do with the heater. It might also be the tank itself, and that answer changes everything. In Warwick, RI, we trace the source before we touch a wrench.
A leak call with us starts with evidence, not guesses. The technician dries everything off so fresh water shows where it starts, then checks the relief valve and its discharge line, the drain valve at the base, and every connection on top. On gas models we also inspect the burner compartment, because water there can be normal startup condensation or a sign of a tank that has failed. A relief valve that keeps releasing water means we also test pressure: static pressure above roughly 80 psi, or a missing expansion tank on a closed system, will make even a new valve drip. Findings come first; the repair follows.
The repair depends on the diagnosis. Valve and fitting leaks are the good news: relief valves, drain valves, dielectric nipples, and flex connectors are stocked on our trucks, and we can often add an expansion tank or pressure-reducing valve the same day if pressure caused the problem. A leak from the tank body is the bad news, because steel that has rusted through cannot be repaired, and we will say so rather than sell a patch. Either way, we help limit future damage with a properly drained pan, a leak alarm or automatic shutoff, and a quick lesson on your shutoff valve. Call (401) 210-2665 to have your leak traced in Warwick.
What homeowners call us about most is Water Heater Repair in Warwick and Water Heater Replacement in Warwick. Start there if you're not sure what you need.
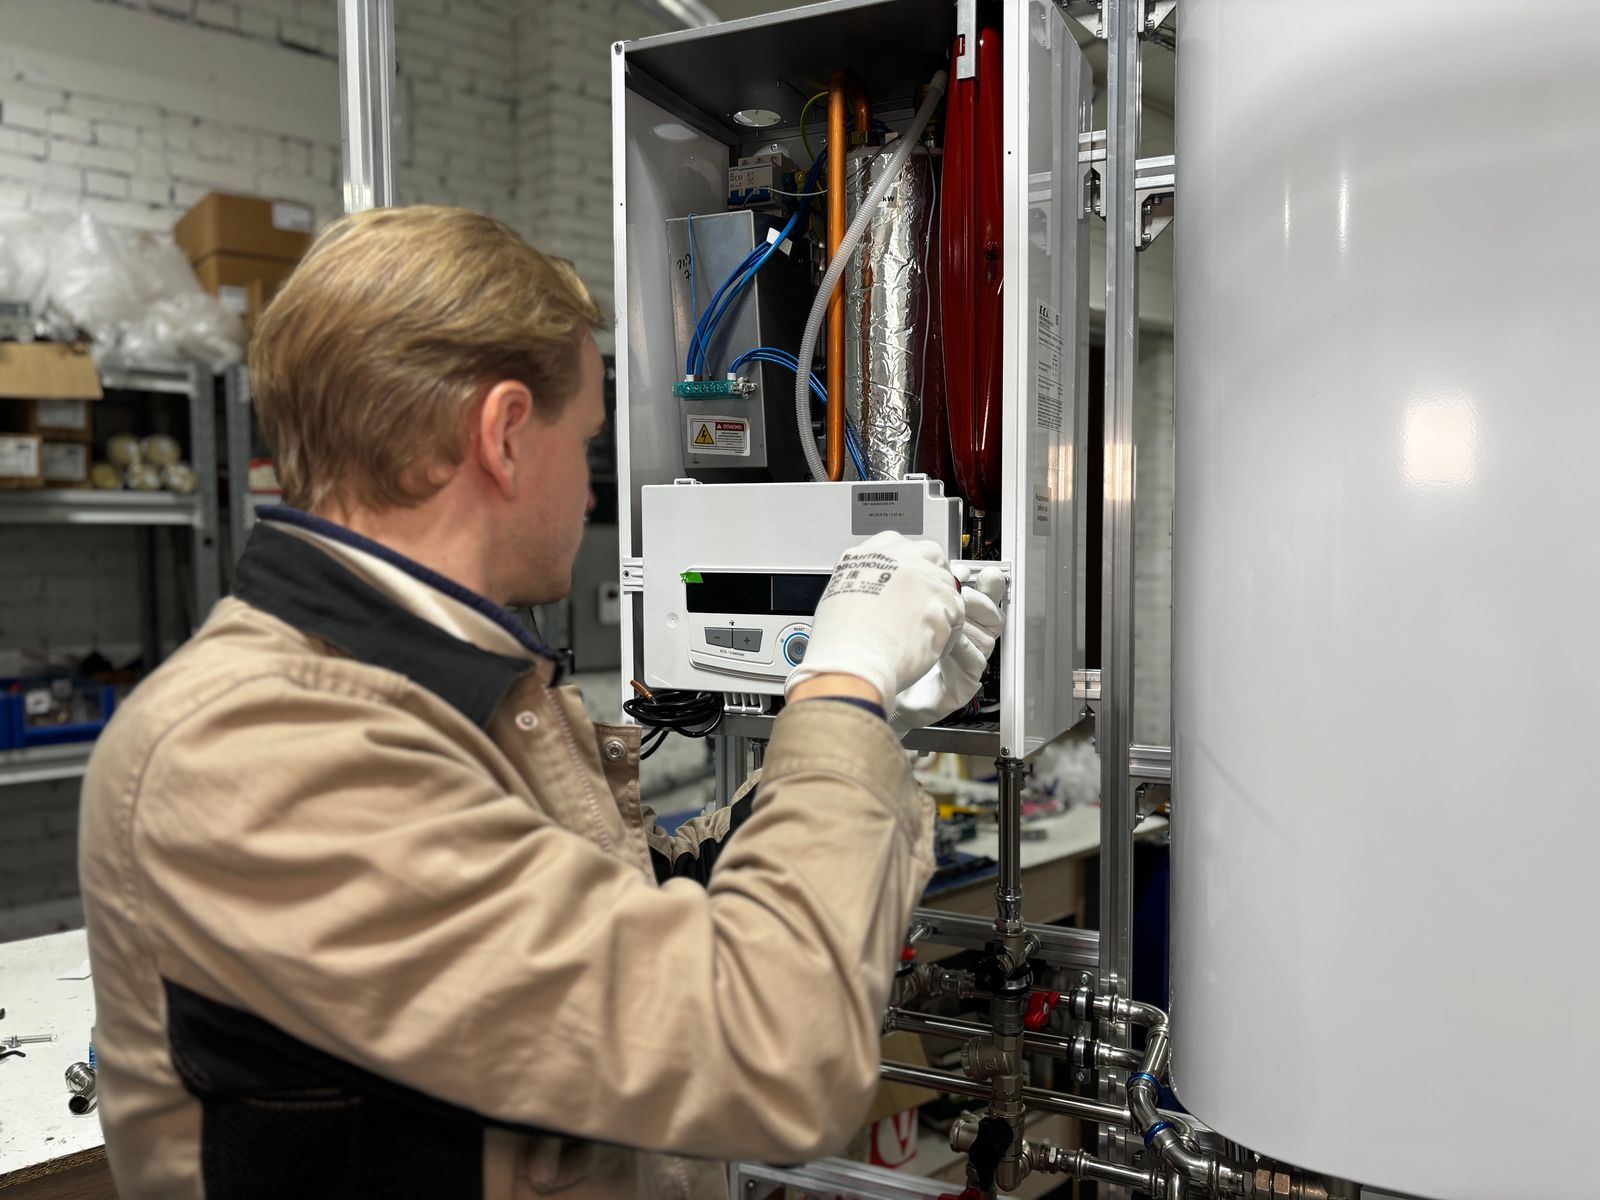
Warning Signs to Watch For
Catching a symptom early is often the difference between a quick part swap and a tank that gives out on the garage floor. If any of the following sound familiar, it's worth having the unit checked:
- A weeping drain spigot on the lower front of the heater
- Rust-tinted hot water and signs of seepage near the base
- A puddle or damp spot on the floor around the base of the tank
- A T&P valve line that drips or releases water now and then
- Corroded pipe connections or damp flex lines above the heater
- Higher water use with no obvious explanation
- Moisture or rust flakes under the burner access cover
- Warped baseboards or stained drywall beside the water heater
Early Action Saves Money
Left alone, even minor symptoms like rumbling or temperatures that swing from hot to warm tend to mean the heater is working its way toward a breakdown. A quick call to (401) 210-2665 gets a technician out to check it before it becomes an emergency.
Get Water Heater Leak Repair Handled Today
One call gets a technician scheduled and a clear price before any work starts.
Call (401) 210-2665 TodayWater Heater Leak Repair FAQ
Why Hire a Professional for Water Heater Leak Repair?
A leak looks like a simple job until you try to find it. Water can start at a top fitting, run down under the jacket, and show up at the base, and condensation on cold tanks add confusion. The risks go beyond a wrong part. Plugging a dripping relief valve removes the protection against excess pressure and heat, forcing a corroded connection can crack it wide open, and electric heaters add 240-volt power to the mix. And if the tank itself is failing, no DIY fix will hold for long.
Our technicians trace leaks methodically and fix the cause, not just the drip. We start by drying the unit, watch for fresh water, test water pressure when the relief valve is involved, and check for expansion issues that cause weeping valves. We replace valves and fittings with quality parts, swap plastic drain valves for brass, and add an expansion tank or pressure-reducing valve when pressure is the root problem. When the tank is the problem, we say so directly and explain replacement options, including the drain pan and leak protection that can keep the next failure from turning into water damage.
From Your Call to Hot Water
Every visit follows a step-by-step method built around testing first and replacing parts only when the readings call for it. Here's a look at each step our team takes:
Stop & Protect
First the water gets stopped. We confirm the supply valve is closed, the heater is off, and the area is dry enough to work safely.
Trace the Source
Every likely source gets checked: T&P valve, drain valve, inlet and outlet fittings, connectors, condensation, and the tank itself. Nothing gets replaced on a guess.
Test the Pressure
We gauge household water pressure and look at expansion control, because a closed system without room to expand spikes pressure every heating cycle.
Lasting Repair
We replace the failed part, refill and purge the tank, restart the heater, and confirm every joint stays dry. A leaking tank gets an honest replacement recommendation instead.
Not Sure What You Need?
Our technicians can assess your water heater and recommend the option that actually makes sense.
Get Help: (401) 210-2665Simple Ways to Extend Your Water Heater's Life
A few simple habits, like an annual flush and a quick look at the relief valve, can add years to a tank. Follow these tips from our technicians:
- A battery leak alarm beside the heater costs little and can catch a problem days sooner
- A quick monthly look at the base, valves, and top connections catches leaks early
- Draining sediment every year helps the bottom of the tank last longer
- Install a drain pan piped to a safe spot, which matters most for attic, closet, and upstairs heaters
- Ask about expansion control if your home has a check valve or backflow preventer
- Have the anode rod checked every few years; once it is used up, the tank starts to corrode
- Check your water pressure; if it runs above about 80 psi, a pressure-reducing valve protects the tank and valves
Comparing DIY and Professional Work
A few tasks, like checking the temperature setting or lifting the relief valve lever to test it, are fine for homeowners, but most water heater work involves gas lines, venting, 240-volt circuits, or a tank full of scalding water, and that belongs with a professional. Here's how the two approaches stack up:
| Consideration | DIY Attempt | Hiring a Pro |
|---|---|---|
| Diagnosis | Replace parts until the drip stops | Leak traced to its true starting point |
| T&P Valve | Valve capped to stop the drip, a serious hazard | Pressure and expansion tested, valve replaced properly |
| Old Fittings | Wrapped in tape and hoped for the best | Proper fittings installed and tested |
| False Alarms | Normal sweating treated as a leak | False leaks ruled out with testing |
| Water Damage | Floors left exposed to the next leak | Shutoff labeled and leak alarms suggested |
| Outcome | Temporary fix that may fail again | Leak solved and cause corrected |
Book a Visit Today
The sooner you call, the sooner the hot water is back. Reach Warwick Water Heater for fast service.
Tap to Call (401) 210-2665Water Heater Leak Repair Across the Warwick Area
We serve Warwick and its neighboring towns for water heater leak repair, from quick same-day repairs to planned installs.